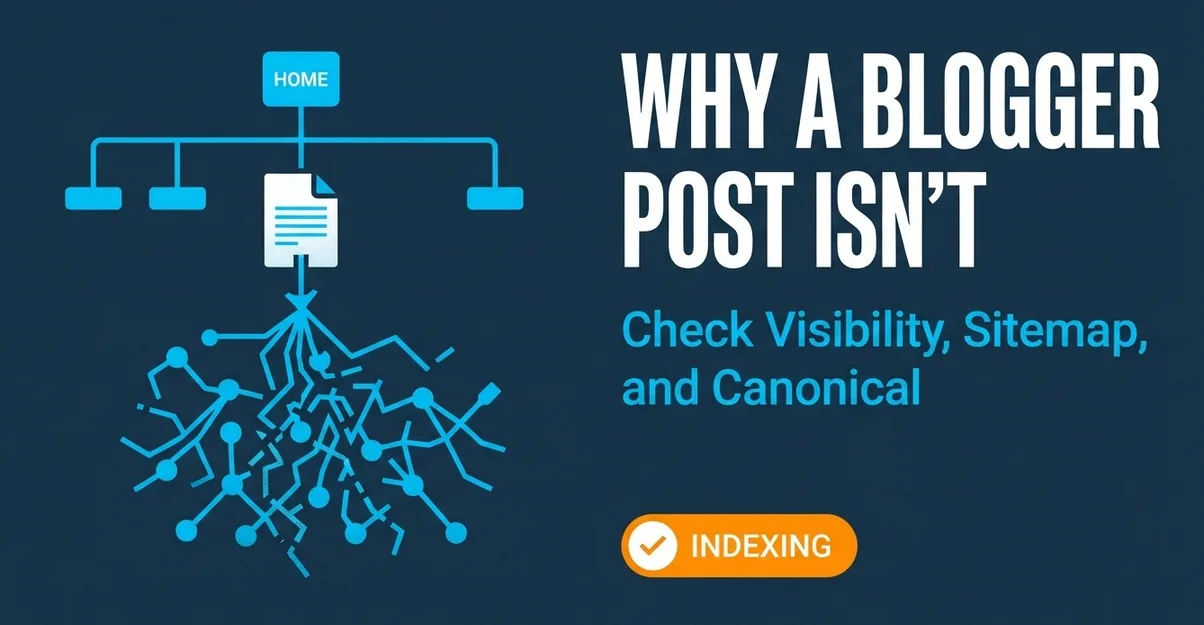
A Blogger post that doesn’t appear in Google may be unindexed. Check the exact published URL in Search Console first, then use the reported indexing reason to investigate visibility signals, discovery paths, the selected canonical, and what Google can access on the live page.
Summary
- Inspect the exact post URL in Search Console. Its indexed status describes the version Google most recently indexed; a live test checks the current page.
- Use the Page indexing report’s reason to guide your next check. A
noindexdirective and a robots.txt block have different effects, and a reported exclusion doesn’t always mean something is broken. - After correcting a confirmed issue, request a recrawl for one URL or submit a sitemap for many URLs. Neither approach guarantees that a post will be indexed.
Confirm whether the Blogger post is actually indexed
Check the exact published post URL in Search Console before changing settings or resubmitting anything. That gives you a clearer answer than relying on whether the post appears for a particular search.
The URL Inspection tool reports information about the version of the URL that Google most recently indexed. That information isn’t a live check of what the page looks like now.
Discovery, crawling, and indexing are separate stages. Google can discover a URL without having crawled it, or crawl it without indexing it. So an absent post in search results doesn’t, by itself, tell you which stage needs attention.
If the URL is indexed, check whether the current page has changed since Google last saw it. If it isn’t, use the reported reason rather than guessing at a Blogger setting.
How to Check Google Indexing When Results Don’t Match URL Inspection→Check Blogger post visibility signals before changing anything
Use the Page indexing report’s reason for the exact post to choose what to investigate. Not every URL that isn’t indexed has an error that needs fixing.
The Page indexing report groups reasons Google hasn’t indexed URLs and provides details about reported issues. Inspect the post URL and read its reason before changing blog-wide options or editing the post.
A `noindex` directive is reported or suspected
noindex directive tells Google not to index the page. Check the inspected URL and its report details before acting; don’t assume the post has this directive just because it’s absent from search results.The report shows a robots.txt block
noindex directive as different signals.The URL is listed as not indexed, but the reason isn’t clear
The key diagnostic is what Google reports for the inspected URL, not an assumption about how a platform setting must be configured. If you find a visibility or crawl signal, investigate that signal before requesting another crawl.
Separate Discovered, Crawled & Alternate Canonical States in an Audit→Check whether the post can be discovered through a sitemap
Check whether Google has a discovery path to the post through a sitemap or relevant internal links. A sitemap can help Google find URLs, but it doesn’t override other indexing signals or guarantee that a URL will enter the index.
For an individual post, use these checks:
- Confirm that a sitemap for the site is submitted in Search Console.
- Check whether the sitemap you use includes the post’s preferred published URL.
- Look for relevant links to the post from other pages on the blog, such as an appropriate category or related post.
- If the URL is missing from the sitemap and has few useful links pointing to it, address the discovery path before relying on another submission request.
Google describes a sitemap as an important way to discover URLs, especially when you need to submit many URLs. Its recrawl and sitemap guidance also explains that a sitemap can help when a site is new or has recently moved. The guidance is about discovery; it doesn’t promise indexing.
Check whether the sitemap includes the complete preferred published URL. Compare the sitemap entry with the published URL you inspected rather than treating an entry for a similar-looking URL as a match.
Internal links provide another way for Google to find a post. Link from a relevant page where the post makes sense for readers; adding unrelated links just to create more paths doesn’t make the post more useful. The blog post indexing guide recommends checking both sitemap inclusion and relevant links as part of a discovery diagnosis.
If the post is already discoverable, move on to the report’s other signals instead of repeatedly adding it to discovery channels. Discovery makes a URL available to be found; it doesn’t settle whether Google can crawl it or will index it.
Compare the post URL with Google’s selected canonical
Compare the URL you want indexed with the canonical information shown for the inspected URL. A mismatch is a reason to investigate which version Google treats as the main one, not a fix by itself.
- Inspect the complete published post URL in Search Console.
- Review the canonical URL Google reports for the inspected URL.
- Compare that reported URL with the URL you intend readers and search engines to use.
- If they differ, check whether the inspected URL is an alternate or duplicate version before deciding what to change.
A canonical comparison may show that Google reports a different URL as canonical from the one you inspected. If the reported canonical is the version you intended, the difference may not be the problem. If it points elsewhere, investigate why the URLs differ and whether the alternate is the one you actually want indexed.
Don’t treat sitemap inclusion as proof that Google will choose that URL as canonical or index it. A sitemap is a discovery aid, and it doesn’t cancel a noindex directive. The Page indexing report
explains that the report can show indexed-page information, while the blog post indexing guide recommends confirming that a sitemap lists the preferred URL.
A canonical mismatch is a clue to follow, not evidence that changing the URL will automatically resolve indexation. First establish which URL you want Google to treat as the post’s main version, then compare that with what Search Console reports. Avoid changing multiple URLs or discovery signals at once if you haven’t identified the specific mismatch.
Use the live test to check what Google can access
Run a live test when you need to check the current post rather than the version Google last indexed. Compare the live result with the indexed information, then inspect the rendered page if the test makes that data available.
- Open URL Inspection for the published post URL.
- Select the live test and read whether the URL is available to Google or has an issue.
- If the live-test status allows it, open the additional response data and check the rendered result.
- Confirm that the main post content—not just a headline or empty template—appears in that result.
The URL Inspection tool distinguishes indexed information from a live test. The live test may provide additional response details, such as rendered output. If the main content doesn’t appear in the rendered result, that gives you a concrete issue to investigate; content present in a draft or editor won’t help if it isn’t exposed on the published page.
A live test that shows the page is available to Google doesn’t mean the post is indexed. Use it to diagnose the current page, then check the indexed status separately. Likewise, a difference between the live page and the indexed version means Google’s indexed information may reflect an earlier version, not necessarily the current content.
Request recrawling after correcting a confirmed issue
After you’ve made a change to the post or resolved a confirmed issue, choose URL Inspection for an individual URL or a sitemap when you need to submit many URLs. Then monitor progress in Search Console rather than assuming the request has already changed the index.
- For one post you manage, use URL Inspection to request a crawl of the inspected URL.
- For many URLs, submit a sitemap; Google describes this as an important way to help it discover URLs.
- Check the Page indexing report or URL Inspection again to monitor what Google reports.
To request a crawl through URL Inspection, you must be an owner or full user of the relevant Search Console property. Google sets a quota for individual URL submissions. Repeating requests for the same URL doesn’t make it get crawled faster, and submitting a request doesn’t guarantee that the page will appear in the index.
Google says crawling can take anywhere from a few days to a few weeks. That’s an expected range, not a promise that a particular post will be crawled or indexed by a specific point in that period. Use the report and inspection information to follow the result.
A recrawl request is most useful after the underlying issue has been corrected; it doesn’t replace diagnosis. If the post still has a visibility directive, a crawl block, or a mismatch between the intended URL and the reported canonical, return to that signal and investigate it before sending repeated requests.
Updated November 17, 2026.